The project that I am currently working on requires Perl scripts to be executed through a LabVIEW application which configures the UUT. As Perl is not natively supported by Windows and LabVIEW (I might be wrong here), other tools are needed in order to execute the scripts correctly.
As the scripts were developed on Linux, there was never an issue running them before developing the LabVIEW application.
Running Perl scripts on Windows
First we need to be able to execute the Perl scripts on Windows, then we can move on to LabVIEW.
The tool I am using is called Cygwin.
Cygwin is:
- a large collection of GNU and Open Source tools which provide functionality similar to a Linux distribution on Windows.
- a DLL (cygwin1.dll) which provides substantial POSIX API functionality.
To install Cygwin, these are the steps I took:
- Download and install the your require for your PC
- Select the Root Directory (C:\Users\gpayne)
- Select the Local Package directory (C:\cygwin)
- Select Available Download Sites: http://cygwin.mirror.constant.com
- When selecting packages make sure you select perl(under Interpreters Group) and ssh (under Net Group) packages.
- Ensure to add the shortcut to the desktop (We will use this later)
Once installed, running the shortcut on the desktop will open a terminal.
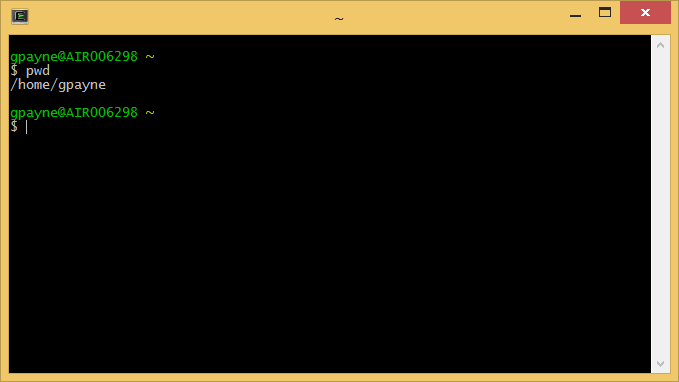
The pwd command will give you the location and should be the same as set by the Root Directory above.
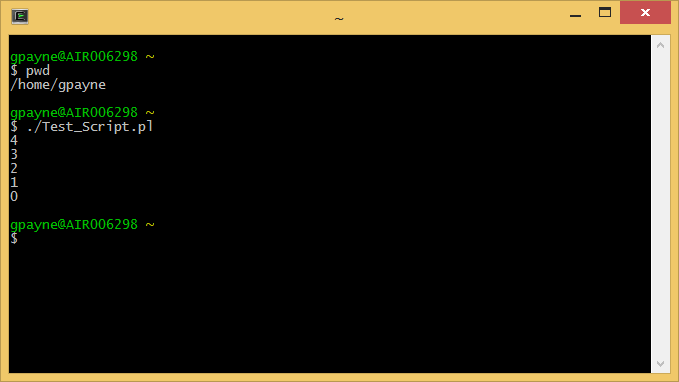
Create a Perl script in that directory. As an example I have created a Perl script that just prints a number for 5 seconds and then exits. To run the script, enter ./Test_Script.pl in the command line and watch as it runs.
#!/usr/bin/perl -s

my $number = 5;
while($number--)
{
print "$number\n";
sleep 1;
}
exit 0;
Running Perl scripts in LabVIEW
To execute an external application from LabVIEW, one way is to use the System Exec vi. This covers executing the application/script, however Windows is still not able to run a Perl script if it is just called.
The first thought that popped in my mind was to use a batch file.
Using Windows batch (*.bat) files
After doing a bit of research, I found a simple way of calling the Perl script, using bash.exe from a batch file.
@echo off

C:
chdir C:\Users\gpayne\bin

bash --login -c "./Test_Script.pl"
exit 0
This batch file, navigates to the bin directory that was installed by Cygwin and executes the Perl script using bash. The batch file then exits when the script completes.
To accomplish this in LabVIEW is really simple. Just pass the path of the batch file into the command input of System Exec and run the vi. The file runs and the output is reported.
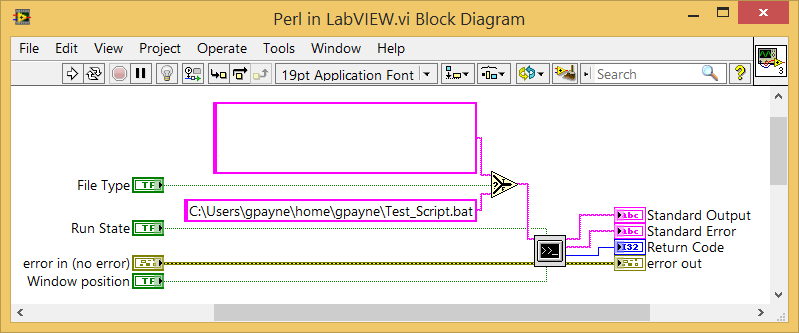
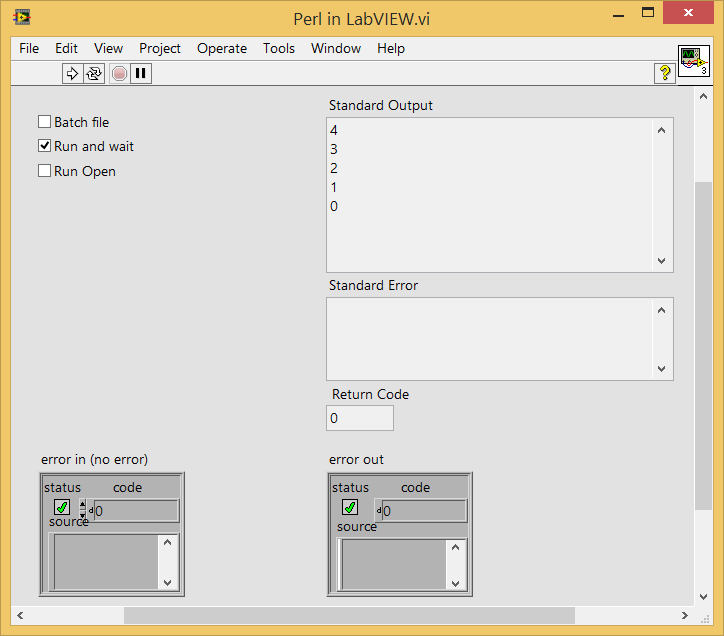
This is great because now we can run a Perl script on Windows through LabVIEW and get the Standard Output and Return Code once the script is complete.
This worked well until I started seeing times when the batch file would not exit. I tried all the escape codes that you can call on exit but nothing worked consistently.
The Perl script would execute perfectly every time when run in the terminal, but when run from the batch file and LabVIEW, it would not.
This was not acceptable so I had to look for another way to execute the script successfully every time.
Using Cygwin and Mintty.exe
As the Perl script worked perfectly when run in the terminal, I started looking at ways of replicating it from within LabVIEW. First was to look at what was run when you double click the desktop shortcut. The target points to C:\Users\gpayne\bin\mintty.exe -i /Cygwin-Terminal.ico - and this is what got me started.
I noticed that the application that is run is called Mintty.exe so I took a look at the help file. To get the help file, just type mintty --help at the terminal.
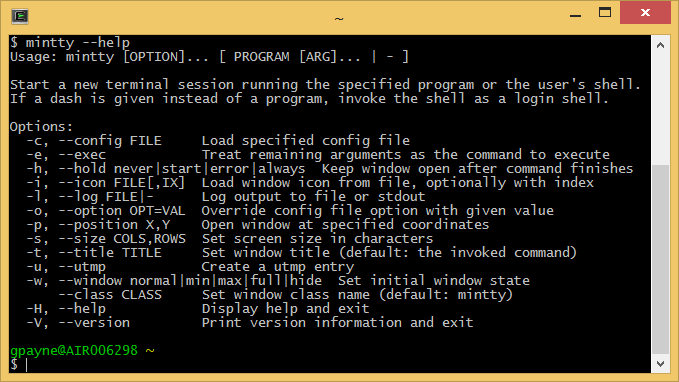
I was not interested in the --icon option, but the --exec option looked promising. This got me thinking of what I wanted to execute using Mintty.exe. I needed to execute my Perl script using bash.
So I started to build up my string that I would write to System Exec in LabVIEW. After some trial and error, I was successful in executing the Perl script. This is what I came up with.
C:\Users\gpayne\bin\mintty.exe -e /bin/bash -c '/home/gpayne/Test_Script.pl'
The bash help files are also helpful so from the terminal type bash --help or bash -c "help set".
This would execute the Perl script with bash running in Mintty. This was all good until I noticed that the standard output was not being reported back to LabVIEW. I needed the standard output as this is what I parse to determine if the script was successful or not.
This is very easily solved by piping the standard output from the script to a file and then get LabVIEW to read the file once the script exits. This does add an extra step, but by executing the script in this way, it runs and exits cleanly every time, being much more reliable than using the batch file. This is my final string that was used.
C:\Users\gpayne\bin\mintty.exe -e /bin/bash -c '/home/gpayne/Test_Script.pl > StandardOutput.txt'
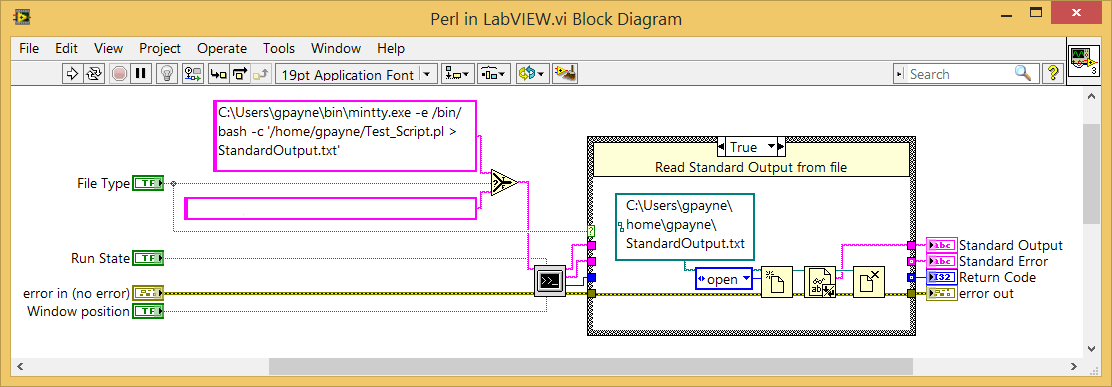
After trying both methods, I settled on using Mintty instead of Windows batch files. They seemed a lot more reliable over many executions.
This method can surely be expanded to running Python scripts too, which I will leave for another day.
As usual, please direct any questions, comments or tips to my email or on Google+.
Greg
