Over the last few months I have been preparing my project and presentation for the UK CLD Summit. Now that the CLD Summit is over, I wanted to do a quick and fun project on my Raspberry Pi that has been lying in a box for those few months.
Something that I have wanted to do for a while is get a webcam working and be able to take pictures. I don’t have the Raspberry Pi camera, so just used a normal webcam. I used the Logitech C170 connected directly to the USB port of my Raspberry Pi and it worked really well. The other USB port has a WiFi dongle connected.
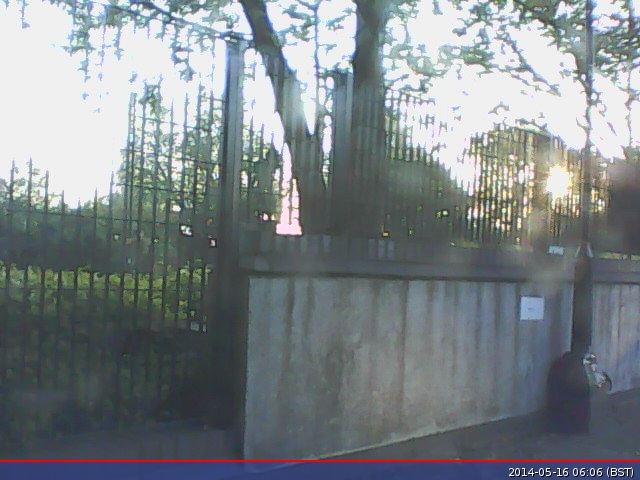
I have this connected up and looking out my window so please excuse the lack of quality.
So to get started, make sure your Raspberry Pi has been updated. I have used the standard Rasbian image.
apt-get update
apt-get upgrade
rpi-update
Setting up a webcam:
Then you need to install fswebcam
apt-get install fswebcam
Once all the above has been installed, plug your webcam in and reboot. Make sure that your webcam is seen by the system.
lsusb
Bus 001 Device 005: ID 046d:082b Logitech, Inc.
There are many switches and options available, so I will explain what I used and how to get a full list. Run this command to capture an image.
fswebcam -r 640x480 -S 10 -d /dev/video0 webcam.png
fswebcam
- The program that is being executed
-r 640x480
- Setting the resolution for the image
-S 10
- Skip the first 10 captures. With my webcam, if I save the first image captured, it gets corrupted. So by adding this option, the camera takes 10 images and only saves the last one.
-d /dev/video
- This sets the device name. To get yours, execute
ls /dev/and look to see what your device is called
webcam.png
- This is the file name of the saved image
By executing fsweb -h, you can see all the options.
You will now have the image saved to the location of your choice. If you are running headless like I do, you have no idea if the image is correct. You could FTP into your Raspberry Pi and get the image off, or like I have done, link my Raspberry Pi to my Dropbox account.
Linking a Dropbox account:
It took me a few attempts to get my Raspberry Pi and Dropbox account linked, but got there in the end.
First you need to download the Dropbox_Uploader script from git. I then copied the script file to the folder where I am saving my pictures to. You don’t have to do this, however it saves writing full paths when executing the commands.
Once the script is in the location you want it, you need to make it executable.
chmod +x dropbox_uploader.sh
Make sure you have a Dropbox account before executing the script. Once you have an account, then you are ready to start linking the two. Run the script and follow the prompts.
./dropbox_uploader.sh
The settings that I used when setting up my App were:
- Files and Datastore
- No – My app needs access to files already on Dropbox
- All file types – My app needs access to a user’s full Dropbox
- Add a unique name, you might need to try a few
Verify your app and if successful, you will notice a folder called Apps has now been created in your Dropbox account. I had to wait a few minutes for this to update.
Test if your account has been linked properly by getting a list of folders in your account.
./dropbox_uploader.sh list
If this works, you are ready to start uploading your images.
./dropbox_uploader.sh upload image.png /Apps/App_Name/File_Name
Wait a few seconds and the image should appear at the location you uploaded it to. Now you can see if the image you captured in the previous steps has worked.
Here is a time lapse video that I put together using Windows Movie Maker. I set up a cron job and ran a script every minute.
If you have any questions, please leave them below in the comments and I’ll try help where I can.
Greg
How to add timestamp or any other watermark to the image?
Hi Cooper,
This isn’t something that I have tried yet, but from the manpage for fswebcam it seems rather simple. Have a look about half way down the page under Output Options, more specifically –timestamp and –overlay. This should be what you are looking for.
Let me know how it goes.
Greg
Hi & thanks for the interesting posting,
What did you do to limit daylight from swamping the CCD? Did you use an ND filter of any kind? My el cheapo Logitech ‘chat’ is useless in even low level daylight / evening conditions. I find myself looking for a filter for it now.
Thanks,
Brian H.
Uxbridge Ont Canada
Hi Brian,
I did not have any filter and ran into the exact same issue. All these images were taken as the sun was rising so wasn’t that bright yet. The pictures I took from the same position later in the day were useless.
I am looking at getting a better camera so will see if that makes any difference, however a filter would be the way to go I guess.
Greg